I have attempted baking about 5-6 rounds of this cake and of course using different types of recipes, different types of mixing methods but each time they come out of the oven, disappointments just surge in - either the top of the cake is unusually domed and badly cracked, the texture is rough and hard or the whole thing turns out too dry. Basically, what am I looking for in a butter cake? Well, a good butter cake (to me) should have :
1. a flat top
2. the texture is fine and velvety soft
3. moist but not dense
4. the outer layer is not burnt
5. the smell emanates and invades into your neighbours' house,
and most importantly,
6. friends or relatives who try the cake must come back to you begging for the recipe!
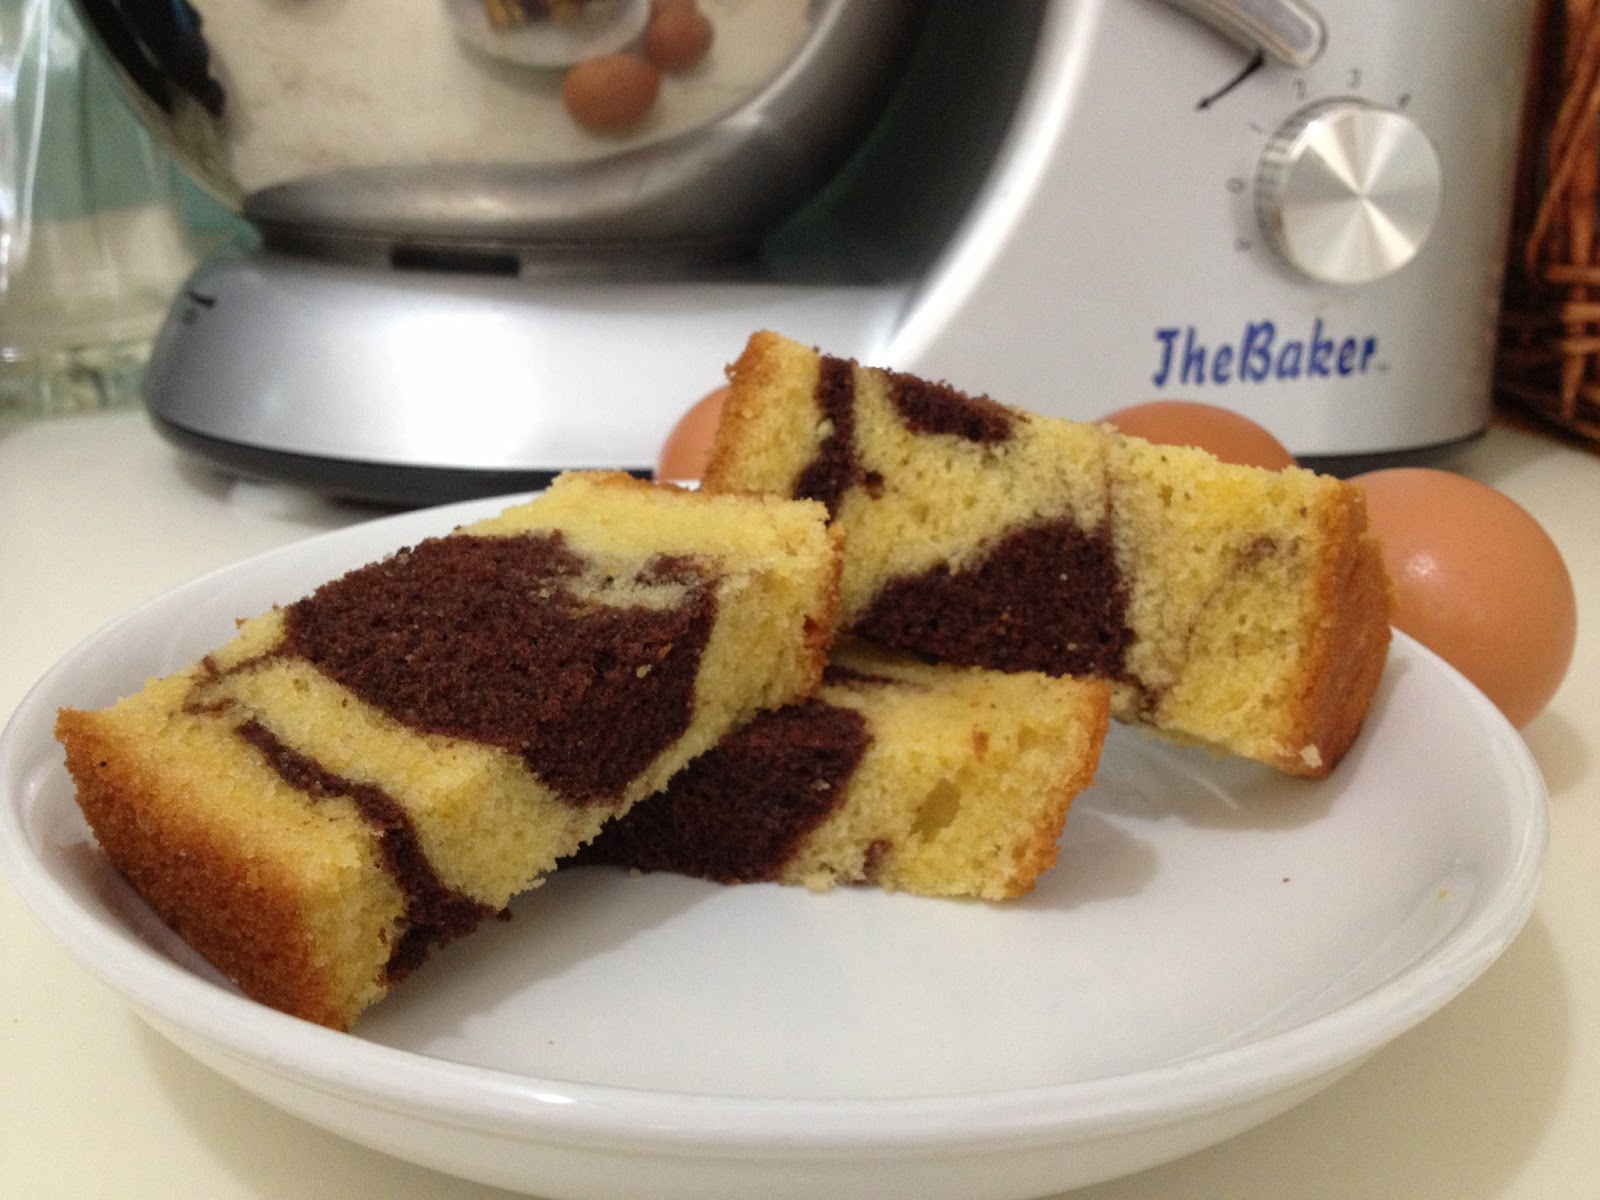
Well, after browsing through looking for THE butter cake, I finally stumbled upon this one. What caught my eyes was the photo of the cake with its soft fine texture sturdily standing on the plate. Another thing that set my eyes on it and put this recipe on my 'must-bake' list is the mixing method used.
So, here I am, giving this cake another shot!
The Recipe
(adapted from www.thelittleteochew.com)
- 8 large eggs, separated
- 9 ozs (255g) castor sugar
- 12 ozs (340g) unsalted butter, softened
- 9 ozs (255g) all purpose flour
- 1 1/2 tsps baking powder
- 1 1/2 tsps pure vanilla extract
- 2 tbsps good quality cocoa powder
- 1/4 tsp salt
1. Preheat oven at 160°C (convection fan on) with a wire rack in the middle. Line an 8-inch round cake tin with parchment, butter and flour. Sift flour, baking powder and salt in a bowl. Set aside.
2. Cream butter in the bowl of a stand mixer fitted with the paddle attachment till light and fluffy. In a separate bowl, whisk the egg yolks with the sugar till light. Gradually add this into the butter and beat on medium speed till just incorporated. In a separate bowl, whisk the egg whites till stiff peaks form. With a spatula, fold in the meringue into the egg yolk mixture in 3-4 batches*. Add in the dry ingredients gradually until just incorporated.
* The first time I added the egg whites, it was impossible to fold. What I did was just mix it up with the thick yolk batter and "loosen up" the batter. The subsequent batches were much easier. I folded the whites in 3 batches.
3. Scoop out 1/4* of the batter in a separate bowl. Sieve cocoa powder over it and fold to mix well. Pour batters into tin, alternating between the two mixtures. Start with the yellow batter and end with the cocoa mixture. Rap pan on counter several times to eliminate air bubbles. With a long skewer, swirl (sparingly) around the batter to create the marble effect. Bake for 40-55 minutes or until a tester inserted into the middle of the cake comes out clean.
* This is somewhat arbitrary. A little more won't hurt, especially if you want a bit more chocolate in your cake! :)

No comments:
Post a Comment